This tutorial covers how to create both groups and tags, how to add your new signup form to your website and how to get your existing subscribers to choose a group so you can send more specific newsletters to your audience.
Tags
Let start by having a look at Mailchimp tags. This is a simple way of keeping your subscribers organized to any way you see fit, without them knowing about it. You could for example add a tag to a new list you’re importing, to remember where they came from.
You can import at list under:
Audience → All contacts → Add contacts → Import contacts
Adding a tag to your imported subscribers is done very easily by selecting a tag just after uploading your list. Then you can view and sort your subscribers with your new tag.
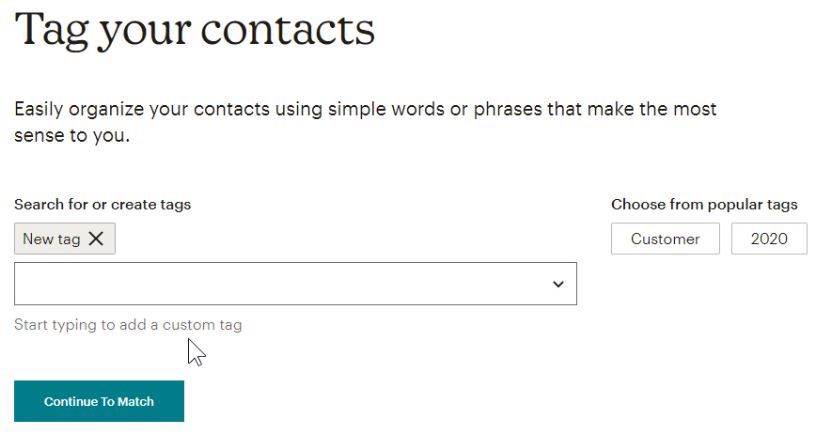
With your subscribers tagged its very easy to send out newsletters to these specific subscribers.
Groups
Groups on the other hand, gives your subscribers a way to select what they’re interested in. So Groups are shown on your signup forms whereas tags are hidden – for your eyes only. Groups are also visible on the “Update preferences” page which usually is linked to in your newsletter footer.
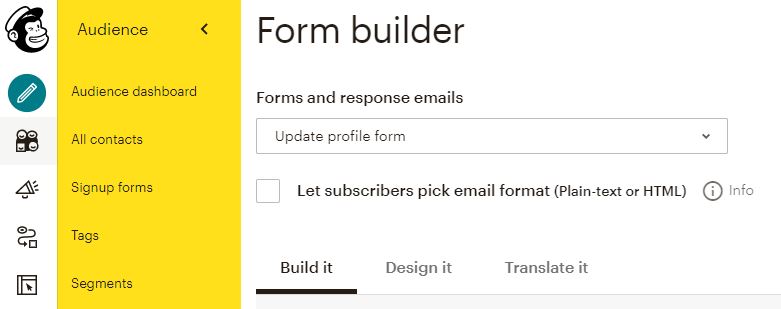
You can change the look of the “Update preferences” page by going to:
Signup forms → Form Builder
And then selecting “Update profile form” in the dropdown.
If you don’t have the “update preferences” link in your newsletter footer you can use this shortcode to add it:
*|UPDATE_PROFILE|*
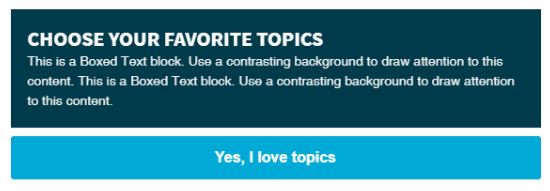
Let’s go back to the “Form builder” where I’ll show you the different ways you can create groups. The most standard way is using checkboxes which makes it possible for the subscriber to select any number of topics that he or she is interest in.
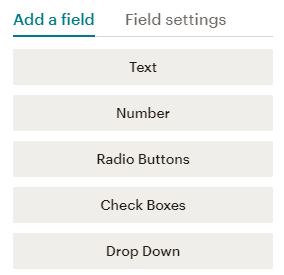
But if you want to force your subscribers to choose only one subject then you can use either Radio Buttons or a dropdown. This is clever if you fx are a University and you are sending out specific newsletters to Staff, Faculty and Students.
Adding your new signup form to your website
Its important to note that if you already have a signup form on your website then it will NOT automatically add the groups to that form. So after adding Groups you have to upload a new form to your site.
How to do this depends on what tool you use to add your signup form. If you are using the simplest way with an embed code, then you simply need to add a new embed code to your website.
So after adding your group in the Form Builder, go to:
Signup forms → Embedded forms
And then copy the code from there to your website. Now your subscribers can choose a group when they signup to your newsletter.
If you for example are using a plugin in WordPress, its not guaranteed to work with groups, but you should be able to figure that out by looking at the plugins settings or documentation.
Inform your existing subscribers about the new groups
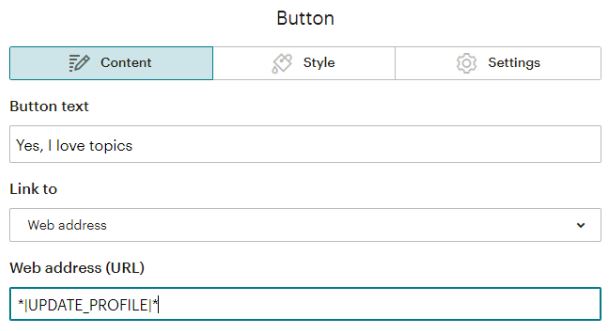
Last but not least, let’s have a look at how to let your existing subscribers know that they now have the option to select a topic for your newsletter. This is quite simple, we will create a new newsletter and describe the new options and then insert a nice big button.
In the button link we choose “Web address” and insert the MERGE TAG for the “Update preferences” page:
*|UPDATE_PROFILE|*
Read more about how to use this MERGE TAG here:
https://mailchimp.com/help/add-an-update-profile-link/
Now they will hopefully select a topic and you will be able to send out more specific newsletters to your current subscribers.
Because some might miss the newsletter or fail to see the button, then I recommend you keep the button in the next 3 newsletters. You can place the button and info near the bottom of your newsletter.
If you’ve already tagged some of your subscribers, you can easily add these tagged subscribers to a group manually. Simply go to:
Audience → All contacts
Then filter for the tag, mark all and finally add them to the group.
Ease your workflow with email templates
Last but not least I suggest making an email template for each group. This is just a smart way to ease your workflow and save time every time you create a new newsletter for each of your groups.
You can do that by going to:
Campaigns → Email templates
And then replicate your existing template and adjust it as needed.

![]()
Free Mailchimp online course series
Create unique newsletters, create loads of happy subscribers and boost your sales